Bare Root, Done Right

TECHNIQUE & PRACTICE · 2026 · SHANNON PETERS
Bare Root, Done Right
A science-backed Australian guide to unpacking, planting and establishing bare-root trees — and getting them through their first El Niño summer.
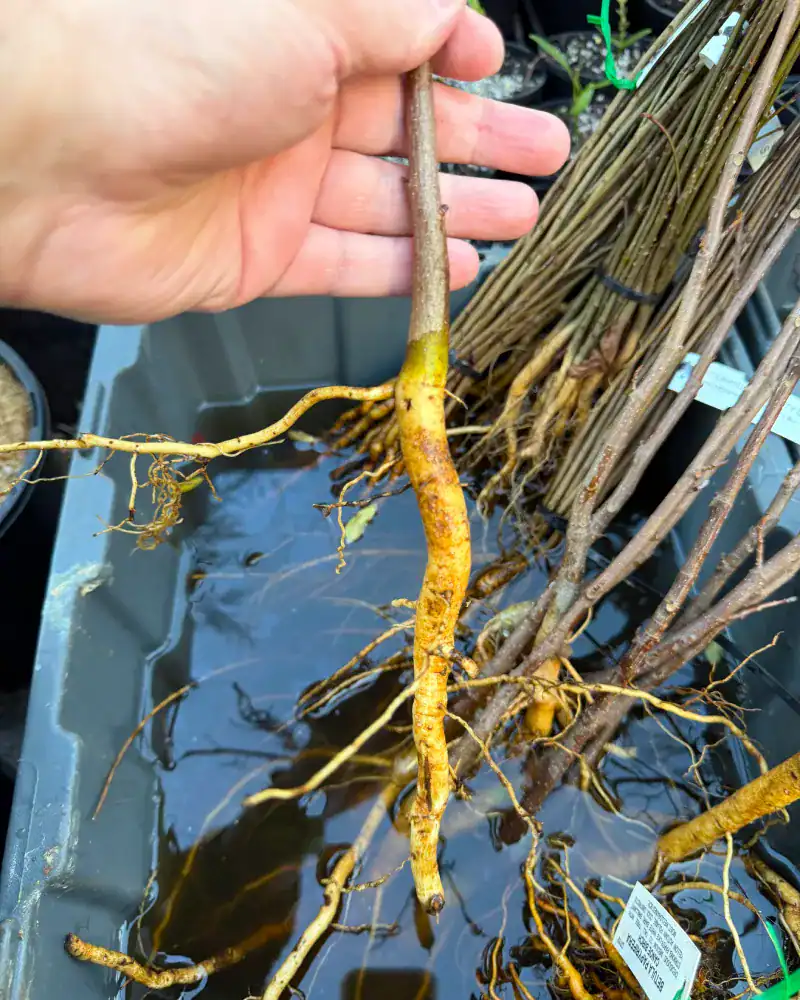
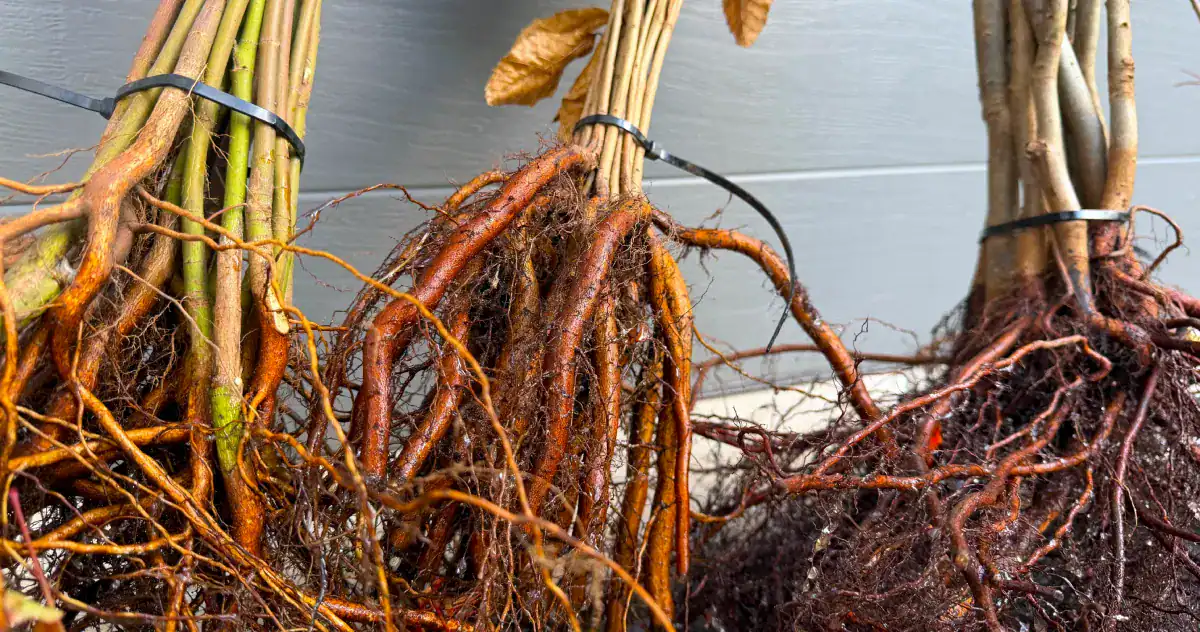
A box arrives. You open it, and inside is what looks, for all the world, like a bundle of dead sticks — bare stems, exposed roots, not a leaf in sight. It is a slightly alarming first impression, and it is completely normal. What you are holding is a dormant, field-grown tree at the peak of its health, packed the best way there is to move a tree: bare-rooted.
Bare-root stock isn’t a cheaper compromise. For deciduous trees lifted in winter, it is arguably the best way to establish a healthy specimen — and the research backs that up. This guide walks you through exactly what to do, from the moment the box arrives to the third summer in the ground, grounded in the science of how trees establish and written for Australian conditions and this particular season.
The short version: rehydrate it, plant it promptly, plant it at the right depth, and water it well through establishment. The detail is where the trees are won or lost — so let’s go through it properly.
Why Bare Root Works
The whole method rests on dormancy. A deciduous tree lifted in winter has dropped its leaves and shut down active growth, redirecting its energy into stored carbohydrate reserves held in the roots. With metabolism at its lowest ebb, the tree can have its roots disturbed and be moved with remarkably little stress — something that would badly set back a tree in full leaf.
Those reserves are substantial. Research summarised by the International Society of Arboriculture notes that in a one-year-old red oak, up to half of the root system by weight can be storage carbohydrate. That is the tree’s fuel tank for pushing out new roots and leaves in spring, and it is why a dormant transplant recovers so well: the energy to re-establish is already packed away where it is needed.
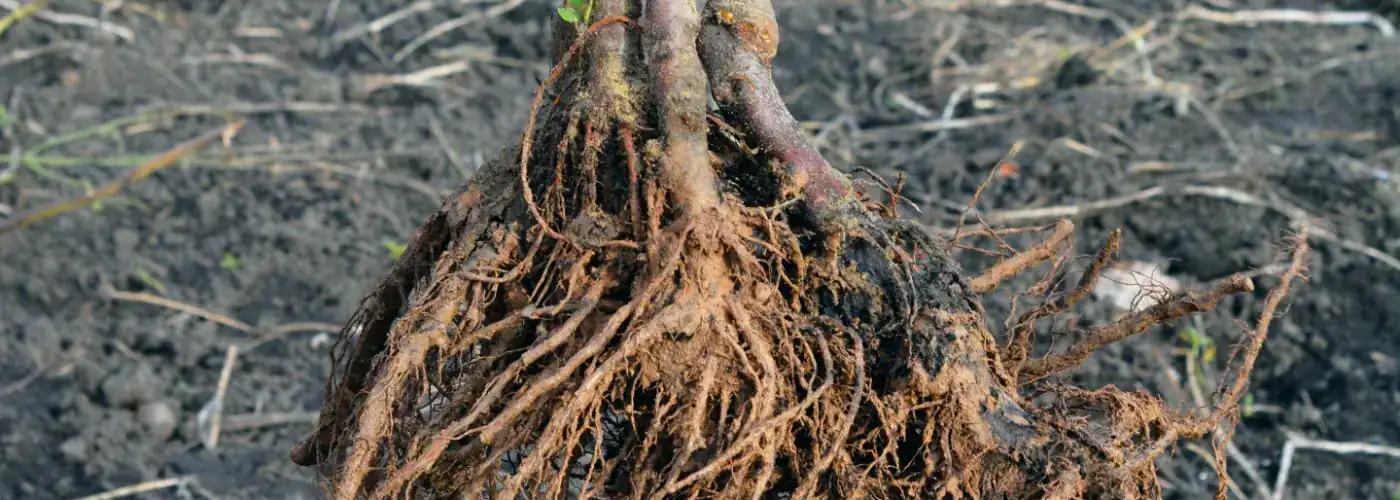
There is a second advantage, and it is about root architecture. A field-grown tree develops a natural, spreading root system in open ground. A container-grown tree develops its roots inside the walls of a pot, where they can circle and deform. The Urban Horticulture Institute at Cornell University, which pioneered modern bare-root landscape planting, has found that for many species bare-root stock establishes just as successfully as heavier balled-and-burlapped trees — at a fraction of the weight and cost, and with a root system you can actually see and spread correctly at planting.
The takeaway
You are not planting a weakened tree. You are planting a dormant, energy-loaded, naturally rooted specimen at the one time of year it is built to be moved. Your job is simply to keep those roots alive and get the tree back in the ground before it wakes up.
That is also why the window matters. In Australian conditions, NSW Department of Primary Industries guidance places the bare-root planting window in late winter to early spring — broadly August to October — once the risk of hard frost has passed, and notes that lifting and planting outside that season increases the risk of the tree failing (NSW DPI). Plant while the tree is resting. It is the whole trick.
The Journey Your Tree Took
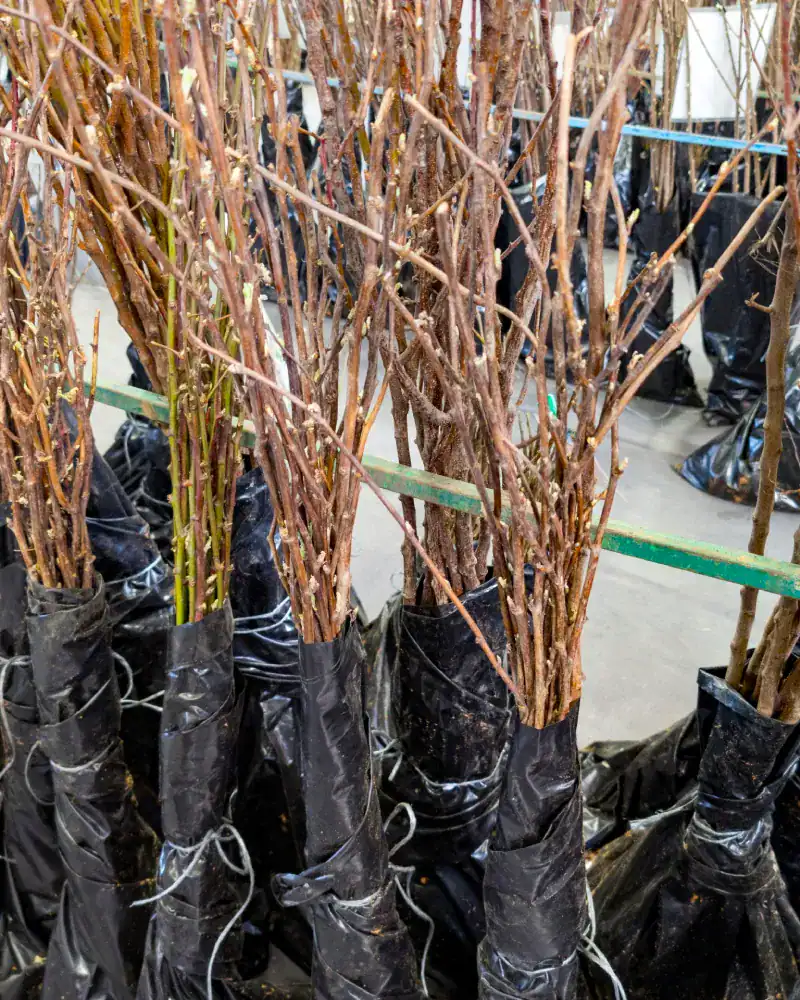
By the time a bare-root tree reaches you, it has already been kept dormant and hydrated through a carefully managed cold chain. Our field-grown stock is lifted once fully dormant, the roots cleaned and packed to order, and held in cold storage. It travels to us in refrigerated transport, packed with ice to hold the trees in their dormant state so they never break their rest in transit.
When stock reaches us in Mittagong, we inspect every plant and settle the roots into deep crates of water with a root conditioner, where they rehydrate for around three days before we begin preparing them for dispatch. For orders heading to the cleared Eastern States, we pack the roots in moist coir inside protective liners to keep them hydrated in transit. The result is that the tree arriving on your doorstep is still dormant, still hydrated, and ready to plant — provided you act reasonably promptly.
That whole chain exists to protect one thing: dormancy. Every step — the ice, the cold store, the moist coir — is there to stop the tree waking up before its roots are back in the ground. Understanding that makes the next part make sense.

When It Arrives: The First Day
Open the package straight away and check the plant over. The roots should feel cool and supple, never dried out. This is the one thing you cannot get wrong: NSW Department of Primary Industries guidance is blunt about it — with bare-rooted trees, the roots must not be allowed to dry out at any stage, because that leads to root death and either the loss of the tree or badly slowed establishment (NSW DPI). A dormant tree is patient; exposed roots are not. Aim to have your tree in the ground within a few days of arrival.
The rehydration soak — the right way
1. On arrival, stand the roots (not the whole plant) in a bucket of water
with a seaweed solution such as Seasol, to rehydrate them.
2. Soak for a few hours and up to around 24 hours — long enough to
rehydrate, not so long that the roots are starved of oxygen. The planting science is clear
that a short soak helps and a prolonged one does not.
3. If you can’t plant immediately after soaking, take the roots out of
the water and wrap them in damp hessian or towelling, kept cool and shaded. Never leave a tree
standing in water for days.
4. Plant within about 24 hours of taking the tree out of its soak.
This mirrors what we do at the nursery, scaled to a home setting. We hydrate incoming stock for longer under controlled conditions, but for a tree that has just travelled to you, a short rehydration soak followed by prompt planting is exactly what the planting research recommends.
Prepare the site while the tree soaks. Have your hole dug and ready before the soak finishes, so the tree goes from water to ground with the roots exposed for the shortest possible time. The next section covers exactly how to dig it.
The four things most people get wrong: hole width, planting depth, the mound, and glazed sides.
Planting Out
For a garden specimen, plant it out. A tree established directly in the ground will almost always outperform one grown on in a pot. Here is how to give it the best possible start, following current arboricultural best practice.
Dig wide, not deep. University extension guidance is consistent on this: the planting hole should be two to three times the width of the tree’s spread-out root system — wider still in heavy or poor soil — but only as deep as needed to sit the tree at its natural depth. Roots spread and establish outward, near the surface, far more than they go down (Iowa State University Extension).
Find the root flare and plant to it. The root flare is where the trunk widens as it meets the roots. It must sit at, or very slightly above, the finished soil level. Planting too deep is one of the most common causes of slow decline in young trees (Alabama Cooperative Extension). For a grafted tree, don’t mistake the graft union for the flare.
Roughen the sides. In clay soils especially, a spade can smear the sides of the hole into a smooth, “glazed” surface that new roots struggle to penetrate — in effect turning your planting hole into a pot. Scratch and roughen the walls with a fork or the tip of the spade so roots can grow out into the surrounding soil.
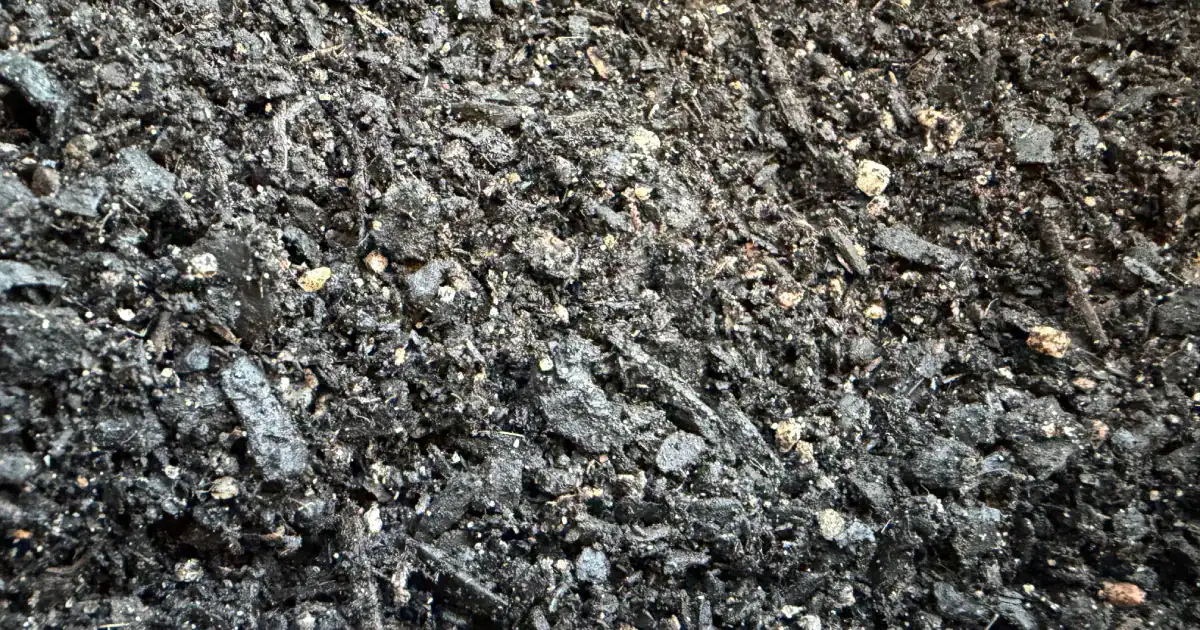
Build a mound and spread the roots. Form a low cone of firm soil in the base of the hole, set the tree on top, and drape the roots evenly down and outwards over the mound. Adjust the height so the root flare sits at grade. Backfill with the same soil you dug out — there is no need for special backfill mixes in most garden soils — firming gently to remove air pockets without compacting.
Water in, then mulch. Water thoroughly to settle the soil around the roots. Then apply a generous layer of mulch — but keep it clear of the trunk itself, leaving a small gap so the flare can breathe.
Stake only if needed. Bare-root whips in exposed sites may need a stake for the first season; a tree in a sheltered spot often does not. If you do stake, tie loosely low on the trunk so the tree can still flex — that movement builds trunk strength — and remove the stake after the first year.
Or Potting On
Sometimes potting on makes sense: a smaller or slower-growing specimen you want to grow up a size before committing it to the ground, or a tree destined for bonsai, where confined roots are the whole point. In those cases, pot up rather than plant out.
If you do, the mix matters enormously — a bare-root tree in a poorly draining pot over a wet winter is a tree at real risk of root rot. Choose a container only a size or two larger than the root system (not a vast pot, which holds too much cold, wet mix around a small root mass), use a free-draining medium, and keep it somewhere sheltered for the first season.
For the full detail on choosing and mixing a medium — including species-by-species ratios for conifers, Nothofagus and bonsai — see our companion guide, The Custodian’s Guide to Growing Media.
“Is It Dead?” — How to Tell
A leafless tree in winter looks lifeless, and the anxiety is understandable — but a dormant tree and a dead one are easy to tell apart once you know the signs.
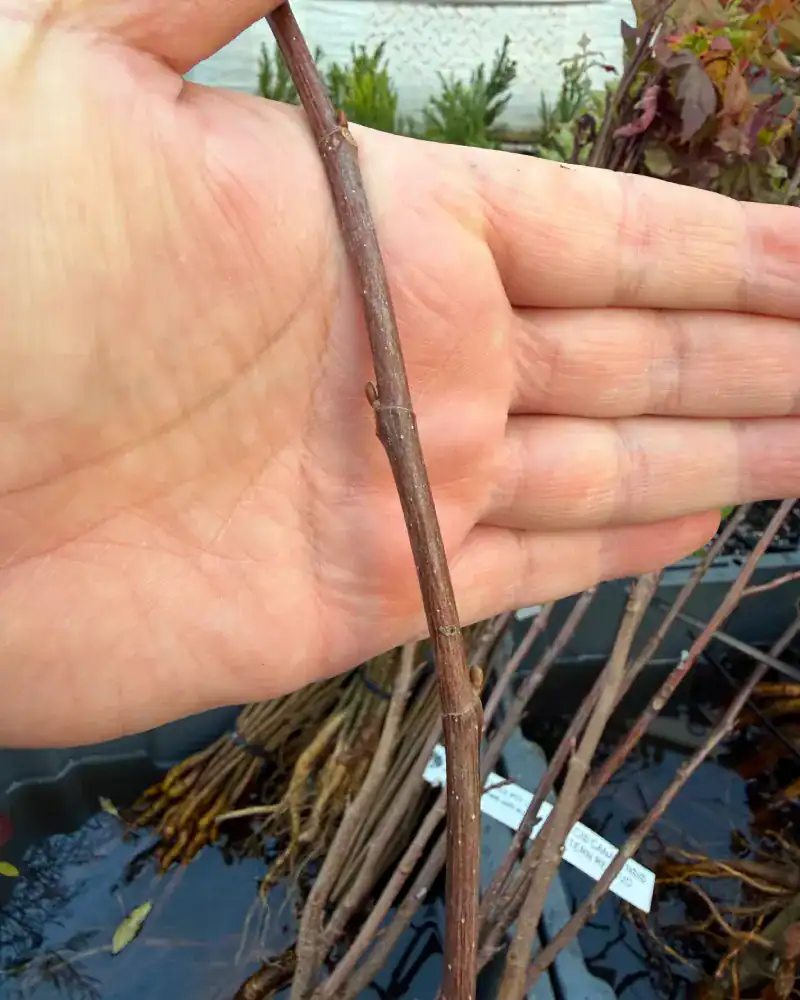
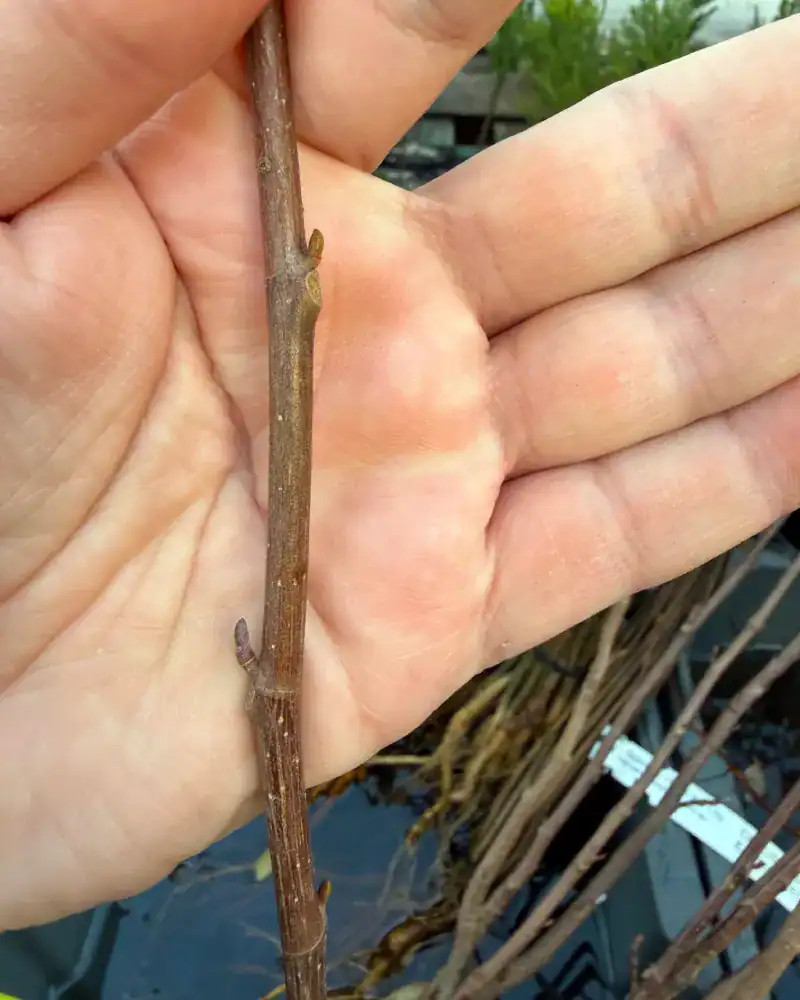
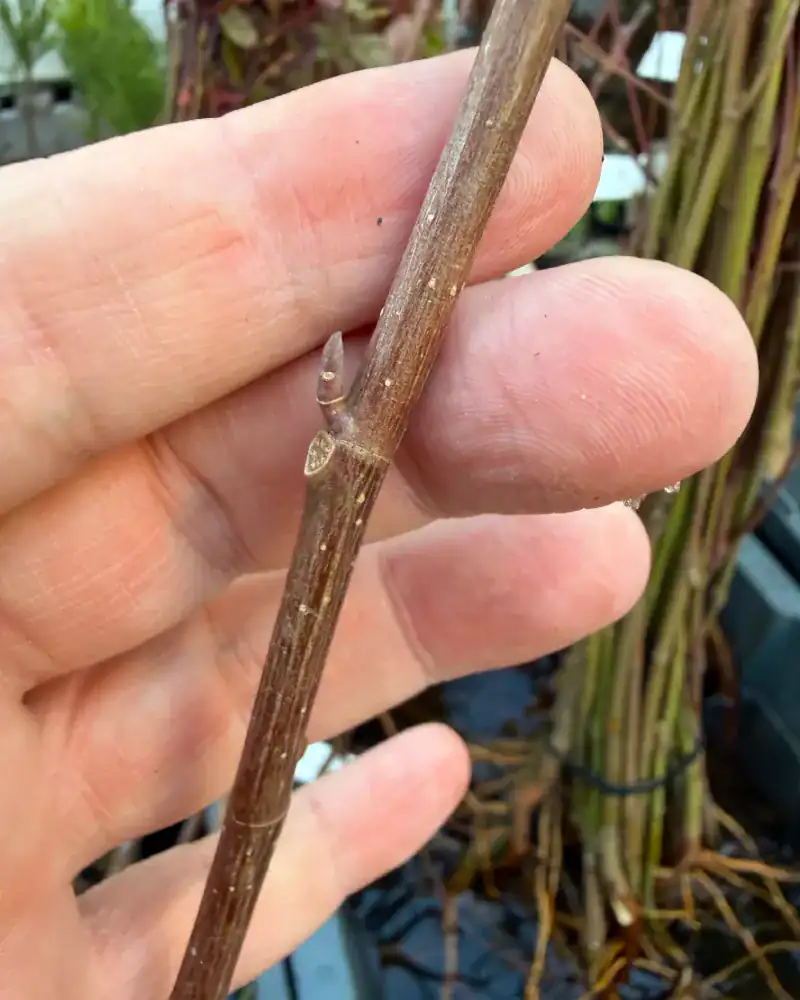
The flex test. Gently bend a smaller branch or the leader. A living, hydrated stem is supple and springs back; a dead one is brittle and snaps dry, with no green beneath the bark. You can confirm by scratching a tiny sliver of bark with a thumbnail — bright green, moist tissue underneath means live wood.
Look at the buds. Healthy dormant stems carry plump, firm buds at the nodes, set and waiting for spring. Shrivelled, papery, easily-rubbed-off buds are a warning sign.
Don’t be fooled by held leaves. Some oaks — sawtooth oak (Quercus acutissima) and chestnut-leaved oak among them — hold onto dead brown leaves right through winter, dropping them only as the new growth pushes in spring. This is a natural trait called marcescence, not a sign of a struggling tree. A whip clinging to crisp brown leaves in July is behaving exactly as it should.
Patience note: Bare-root trees can be slow to wake. Many leaf out later than the established trees around them — sometimes not until well into spring — while they put their first energy into new roots below ground. A bare stem in September is not a dead tree; it is a tree building its foundation. Give it until early summer before drawing any conclusions.
This Winter Is Different: Planting into an El Niño
Timing your planting for winter dormancy is the easy part. This year there is a second factor worth planning around. The Bureau of Meteorology has confirmed that an El Niño is underway, and current forecasts point to a strong event. For gardeners, the practical consequences are clear enough to plan for.
The Bureau’s long-range outlook indicates below-average rainfall across much of eastern and south-western Australia through winter and into spring, together with above-average temperatures across most of the country south of the tropics. Western Australia’s South West is flagged for a notably dry run. In plain terms: a drier, warmer stretch ahead, tapering into what could be a hard, dry summer.
This does not change whether you should plant — winter is still the right time, and a well-established tree is far better placed to face a dry summer than one still sitting in a pot. What it changes is the emphasis: establishment watering matters more this year than most. A newly planted tree has not yet grown the roots to find its own water, so it depends on you through that first dry summer. The mulching and watering regime in the next section is not optional this season — it is the difference between a tree that establishes and one that struggles.
El Niño’s influence varies from region to region and no two events are the same, so it is worth checking the Bureau’s outlook for your own location as the season develops rather than relying on a single national picture.
The First Three Years
A tree is not established the day it is planted. Establishment — the process of growing enough new root to support itself — typically takes two to three years for a young tree, and it is the period when your care matters most (Alabama Cooperative Extension).
Water deeply, not often. The goal is to wet the soil to depth — roughly 20–30cm — so roots are drawn downward rather than lingering at the surface. A deep soak once or twice a week during the growing season does far more good than a light daily sprinkle, which only ever dampens the top few centimetres. Adjust to rainfall and your soil type; sandy soils drain fast and need more frequent water, clay holds it longer.
Let irrigation do the work. Through a dry El Niño summer, a simple drip line or a slow-release watering bag takes the guesswork and the memory-load out of it, delivering water slowly to the root zone where it soaks in rather than running off. For a handful of specimen trees, this is the single most reliable investment you can make in their survival.
Mulch, and keep mulching. A generous organic mulch layer over the root zone conserves soil moisture, moderates soil temperature, and suppresses the weeds that would otherwise compete for water. Top it up as it breaks down. Keep it pulled back from the trunk.
Go easy on fertiliser at first. A newly planted tree needs to grow roots, not be pushed into soft top growth it can’t yet support. Hold off on heavy feeding in the first season; a seaweed solution supports root development without forcing growth. Feed more meaningfully from the second season, once the tree is actively establishing.
Watch for stress, and read it correctly. Wilting, scorched leaf margins, early leaf drop, or sparse growth in summer usually point to water stress — the most common cause of young-tree failure. The instinct to respond to a wilting tree with fertiliser is the wrong one; the answer is almost always a deep, thorough watering and a check that the mulch is doing its job. If a tree is stressed despite adequate water, check it isn’t planted too deep and that water isn’t pooling around the roots.
The Bare Root Reserve Nine
| Species | Best suited to | Garden role | Spacing (planted out) |
|---|---|---|---|
| Cercis canadensis (Redbud) | Cool-temperate, sheltered | Small feature / understorey | 4–5 m |
| Betula papyrifera (Paper Birch) | Cool climates, moist soil | Feature / grove | 5–7 m (or grouped) |
| Pistacia chinensis (Chinese Pistachio) | Wide range, drought-hardy once established | Street / shade / autumn colour | 6–8 m |
| Quercus acutissima (Sawtooth Oak) | Wide range, tolerant | Shade / avenue | 8–10 m |
| Liriodendron tulipifera (Tulip Tree) | Cool, deep moist soil, space to grow | Large specimen | 10–12 m |
| Liquidambar styraciflua | Wide range, tolerant | Shade / autumn colour | 8–10 m |
| Acer saccharum (Sugar Maple) | Cool-temperate, well-drained | Feature / autumn colour | 8–10 m |
| Acer palmatum (Japanese Maple, supergrade) | Cool, sheltered from hot wind | Feature / courtyard / bonsai | 3–5 m (or potted) |
| Parrotia persica (Persian Ironwood) | Cool-temperate, adaptable | Feature / autumn colour | 5–7 m |
Spacing is a general guide for open-ground planting; adjust for your site and intended form. For advice on a specific species in your conditions, get in touch — we grow these and are happy to help.
Field-grown deciduous trees, dispatched bare-root at the perfect time to plant. Grown here, ready to establish with you.
A Tree for the Long Run
It is worth remembering, as you stand over a hole in a cold paddock with a bundle of bare stems, what you are actually doing. You are planting a tree at the precise moment it is built to be moved, with its energy packed away and its roots ready to run the moment the soil warms. Done well, that tree will outlast the planting of it by decades — likely by generations.
Rehydrate it, plant it promptly and at the right depth, and water it faithfully through its first summers. The rest, the tree will do itself. If you hit something this guide doesn’t cover, or you want a hand choosing the right species for your site, reply to any of our emails or get in touch — we grow these trees, and we would rather see one established well than sell another.
Sequoia Valley Farms — Custodians of Natural History. Mittagong, NSW.
Sources & further reading
- Urban Horticulture Institute, Cornell University — bare-root transplanting research and the Creating the Urban Forest: The Bare Root Method program. blogs.cornell.edu/urbanhort
- Watson, G. & Himelick, E.B., via the International Society of Arboriculture — tree establishment and transplant-shock science, incl. root-system carbohydrate reserves. Arboriculture & Urban Forestry
- Colorado State University Extension — The Science of Planting Trees (planting depth, root flare, soaking guidance). extension.colostate.edu
- Iowa State University Extension — tree planting basics (hole width vs depth, sloped sides). yardandgarden.extension.iastate.edu
- Alabama Cooperative Extension System — best practices for successful tree planting (establishment watering, depth). aces.edu
- NSW Department of Primary Industries — planting guidance: the bare-root planting window, keeping roots from drying out, and watering in at planting. dpi.nsw.gov.au
- Bureau of Meteorology — ENSO status and long-range climate outlooks (El Niño, rainfall & temperature). bom.gov.au/climate/enso & long-range outlooks
A note on the sources: the physiology of dormancy and root establishment is universal, and the deepest research on bare-root landscape planting comes from North American institutions — Cornell’s bare-root program and the International Society of Arboriculture’s standards are used by arborists worldwide, including here. Where Australian conditions genuinely differ — the planting window, our climate, and water — we have grounded the guidance in Australian sources.